Introduction
According to a consumer report, over 42% of iPhone 13 through iPhone 15 Pro users have experienced camera lens damage, and most don’t realize a cracked lens can silently ruin photo quality long before it’s visually obvious. That stat stopped me in my tracks when I first read it. Nearly half of us. The good news? It’s fixable. Whether you’re a DIY warrior who loves cracking open gadgets or someone who’d rather hand it off to a professional, this iPhone camera lens replacement guide has you covered.
I’ll walk you through everything: how to diagnose the damage, what replacement actually costs in 2026, how to do it yourself step by step, and how to make sure it never happens again.
Here’s what we’re covering today: how to identify if your lens actually needs replacing, the different types of camera lenses on modern iPhones, a full cost breakdown, a DIY repair walkthrough, professional repair options, moisture damage fixes, the best lens protectors on the market, and model-specific tips for every recent iPhone. Let’s get into it.
How to Know if Your iPhone Camera Lens Needs Replacing
Before you spend a single dollar on a repair, you need to confirm that the camera lens is actually the problem. This sounds obvious, but a lot of people jump straight to repairs when a quick diagnostic check could save them time and money.
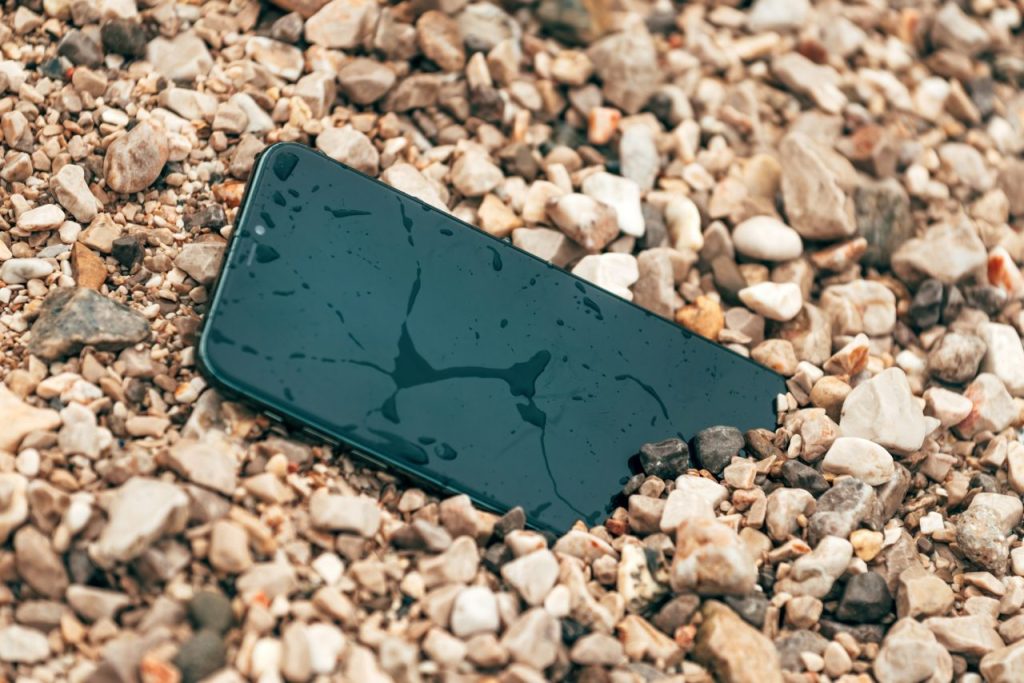
- Visible physical damage is the most obvious sign. Cracks, chips, or a fully shattered camera glass cover are a dead giveaway. Even hairline cracks matter; they let in dust, moisture, and debris that will quietly degrade your image quality over time.
- Persistent blurriness that doesn’t go away after cleaning is another red flag. Grab a microfiber cloth, clean the lens thoroughly, and test the camera again. If photos are still soft or out of focus, the issue is likely beneath the surface, either the lens glass itself is damaged internally, or the camera module is compromised.
- Dark spots or strange artifacts in your photos, things like purple haze, unexpected lens flare, or opaque blotches- often point to damage to the lens cover or debris trapped underneath it.
- Fogging or condensation visible inside the camera bump is a serious sign. This means the seal around the lens cover has been broken. Moisture is now inside, and left untreated, it will corrode the camera sensor and surrounding components.
- The camera app crashing or refusing to launch after you’ve dropped your phone is also a signal worth taking seriously. Sometimes the impact damages more than just the glass.
- And finally, scratches that appear in your actual photos (not just on the glass itself) confirm that the lens cover surface is degraded enough to affect image rendering. If you see consistent marks in the same position across multiple shots, that’s your lens, not your screen.
For a detailed troubleshooting guide, read: iPhone Camera Not Working in 2026, Hardware or Software
iPhone Camera Lens Types — What You’re Actually Replacing
Here’s something a lot of people get confused about: when we talk about “replacing the iPhone camera lens,” we’re rarely talking about the actual optical lens inside the camera. We’re talking about the protective glass cover that sits over the lens assembly. That distinction matters a lot, both for repair difficulty and cost.
Modern iPhones, the 15 Pro, 16, and 16 Pro Max, have multiple cameras on the rear, each with its own separate cover glass. You’ve got the wide camera, the ultrawide camera, and on Pro models, the telephoto camera. Each one can crack independently. So if only one lens cover is damaged, you may only need to replace that one, not the entire camera system.
Apple uses sapphire crystal glass for iPhone camera lens covers on Pro models. Sapphire is incredibly scratch-resistant, harder than most materials you’d encounter in daily life. But here’s the catch: Sapphire is more brittle than standard glass. It resists scratches but shatters more easily under impact. That’s why a drop that barely scratches the cover on an older model can shatter a sapphire cover on a Pro.
On the iPhone 16 and 15 series, the camera bump design has also grown more complex. The LiDAR scanner on Pro models and the True Depth camera system on the front are entirely separate components; they are not part of the rear lens replacement process. Don’t let anyone quote you for replacing those unless there’s a very specific, diagnosed reason.
When sourcing replacement parts, you’ll generally encounter two options: OEM (Original Equipment Manufacturer) parts sourced from Apple’s supply chain, and third-party aftermarket parts. OEM parts are more expensive but guarantee compatibility and optical quality. Third-party parts are cheaper but can vary wildly in quality — some are excellent, some will make your photos look worse than the crack did.
iPhone Camera Lens Replacement Cost in 2026
Let’s talk money, because this is usually the first question on everyone’s mind.
Apple Store / Authorized Service Provider pricing:
Varies by model and damage type. If the damage is limited to the lens cover glass only, not the full camera module, Apple often treats it as an “other damage” repair under AppleCare+, with a service fee typically ranging from $29 to $99 depending on your plan tier.
Without AppleCare+, a camera lens repair at Apple can run anywhere from $129 to $329+ for newer Pro models. Always call ahead or check Apple’s support site for your specific model’s out-of-warranty pricing.
AppleCare+ is a Game-Changer Here:
If you have it, accidental damage coverage means camera lens repairs are covered under the accidental damage deductible, which is significantly cheaper than out-of-warranty pricing. If you’re prone to dropping your phone (no judgment!), AppleCare+ more than pays for itself after just one camera repair.
Third-Party Repair Shops:
Like Helpertech and countless local repair shops, they typically charge between $60 and $180 for an iPhone camera lens cover replacement, depending on the model. Shops that are part of Apple’s Independent Repair Provider (IRP) program use Apple-certified parts and tools, which is a meaningful quality distinction.
DIY Repair Costs:
Are dramatically lower, often just $10 to $40 for the replacement lens cover itself, plus around $20 to $50 for tools if you don’t already have them. But there are hidden costs to consider. Attempting a DIY repair on a modern iPhone can void your remaining warranty. More importantly, if you damage the waterproof sealing, your iPhone loses its IP68 water resistance rating, which could be very expensive later. And if something goes wrong near the Face ID sensors or the camera ribbon cables, you could turn a $30 repair into a $500 one.
Is it Worth Repairing Vs. Upgrading?
If your iPhone is two years old or newer, repair is almost always the right call. If it’s four or more years old, it’s worth doing the math — especially if other components are showing wear. A camera lens repair on an iPhone 12 might cost $80 at a shop, while a refurbished iPhone 14 might be available for $350. Think it through before you commit.
DIY iPhone Camera Lens Replacement — Step-by-Step
Let me be upfront: DIY camera lens replacement on a modern iPhone is doable, but it’s not for the faint of heart. If you’re not comfortable working with small components, heat, and adhesives, please skip to the professional repair section. No shame in that at all.
If you’re ready, here’s what you’ll need and how to do it.
Tools and materials:
- Replacement lens cover (iFixit, Amazon, or eBay — match your exact model)
- Heat gun or hairdryer
- Suction cup
- Plastic spudger and pry tools (never metal near camera components)
- Pre-cut adhesive or B-7000 adhesive
- Microfiber cloth and 99% isopropyl alcohol
- Tweezers
- A well-lit, clean workspace
- Step 1: Power off your iPhone completely. Never work on an active device. Hold the side button and a volume button, slide to power off, and wait 30 seconds.
- Step 2: Apply gentle heat. Using a hairdryer on medium heat or a heat gun on low, warm the camera area for 30 to 45 seconds. This softens the adhesive holding the lens cover in place. Don’t overheat — you’re not cooking it, just warming it.
- Step 3: Attach the suction cup to the cracked lens cover and apply gentle upward pressure. Use a plastic spudger to work around the edges carefully. The lens cover should begin to lift. Go slowly. Patience is everything here.
- Step 4: Remove the broken lens cover fully and set it aside. Use your microfiber cloth with a small amount of isopropyl alcohol to clean the exposed surface thoroughly. Any dust or adhesive residue left behind will show up in your photos.
- Step 5: Prepare the new lens cover. If it comes with pre-applied adhesive, peel the backing and align carefully before pressing down. If you’re using B-7000 adhesive, apply a thin, even bead around the perimeter of the camera opening — less is more.
- Step 6: Press the new lens cover firmly into place and hold for 60 seconds. Wipe away any adhesive squeeze-out immediately.
- Step 7: Test before you fully seal. Power on the phone and test all cameras — wide, ultrawide, telephoto if applicable. Check for clarity, focus, and any distortion. If everything looks good, let the adhesive cure fully (24 hours for B-7000) before exposing the phone to moisture.
Common mistakes to avoid: using too much heat (can damage sensors), using metal tools near the camera (scratches or shorts), rushing the adhesive cure time, and buying a lens cover that doesn’t match your exact sub-model. An iPhone 16 and iPhone 16 Plus use different lens configurations; always double-check before ordering parts.
Professional Repair Options — Apple vs. Third-Party
Not everyone wants to go the DIY route, and honestly, for most people, professional repair is the smarter choice. Here’s a breakdown of your options in 2026.
- Apple’s Self Service Repair Program has expanded significantly. As of 2026, it covers a wider range of iPhone models and includes camera components for select repairs. You can order genuine Apple parts, access Apple’s repair manuals, and rent professional tools through the program. It’s a middle ground between full DIY and going to a store — you do the work, but with Apple’s actual parts and documentation.
- Apple Store Genius Bar is the gold standard for peace of mind. Book an appointment through the Apple Support app, bring your phone in, and let the pros handle it. Repairs using genuine Apple parts preserve your warranty (or what remains of it), and Apple’s diagnostic tools mean they can catch secondary damage you might not have noticed. Wait times vary — same-day service is often available for common repairs.
- Apple Authorized Independent Repair Providers (IRPs) are third-party shops that have completed Apple’s certification program and use Apple-genuine parts. These shops offer Apple-quality repairs, often with shorter wait times and sometimes lower prices than the Apple Store itself. You can find one near you through Apple’s official repair locator.
- Third-party chains like Helpertech offer competitive pricing and fast turnaround — often same-day for camera lens replacements. Quality varies by location, so read reviews carefully. Ask specifically whether they use OEM or aftermarket parts for your repair.
- Mail-in repair services are convenient if you don’t have a good local option. Turnaround is typically 3 to 7 business days. Ensure the service provides a tracking number, a warranty for the repair, and clear communication on parts sourcing.
Before handing your phone to anyone, always ask: What parts will you use? Is there a warranty on the repair? Will this affect my IP68 rating? A reputable shop will answer all three questions confidently.
Water Damage & Moisture-Related Lens Issues
This one catches a lot of people off guard. You might not have shattered your lens cover, it might look fine, but if your photos are coming out foggy, washed out, or strangely tinted, moisture could be the culprit.
Here’s how it happens: a tiny crack in the lens cover adhesive seal, even one invisible to the naked eye, is enough for humid air to seep into the camera bump. Once inside, it condenses on the internal lens elements and sensor. You might notice it most after coming in from the cold, after a workout, or after being near steam.
iPhone’s IP68 rating protects against direct water submersion up to a certain depth and time, but it does not protect against steam, high-pressure water, or water entry through a compromised lens seal. Once that seal is broken by a crack or a previous repair, you’ve lost a significant portion of that protection.
Signs of moisture damage beyond fogging include: a warm color cast across photos, rainbow-like interference patterns, or dark blotchy areas that shift position when you tilt the phone.
DIY moisture fixes: For mild fogging, place your phone (without a case) in a sealed bag with silica gel packets for 24 to 48 hours. You can also place it near — not on — a gentle heat source like a warm vent. Do not use a hair dryer directly on it. Some people swear by leaving it in an airtight container of uncooked rice, though silica gel is genuinely more effective.
If the fogging is severe or persistent, DIY fixes won’t solve the underlying problem. The seal needs to be replaced, and if the moisture has had time to reach the camera sensor, you may need a full camera module replacement — which is a job for a professional.
After any repair involving the camera area, ensure the new adhesive seal is properly applied and cured before exposing the phone to any moisture at all.
Best iPhone Camera Lens Protectors to Prevent Future Damage
The absolute best time to protect your camera lens is before it cracks. Trust me on this one.
- Tempered glass camera protectors: They are the most popular option and for good reason. They’re made from toughened glass that absorbs impact and scratches instead of your iPhone’s lens cover. For 2026 models, brands like Spigen, ESR, and Ailun make model-specific tempered glass sets that cover all rear cameras with precise cutouts. They’re typically $8 to $20 and take under two minutes to apply.
- Stainless steel ring protectors: Add a raised metal edge around each lens, giving the glass an extra buffer zone. If your phone lands flat on a hard surface, the raised ring takes the hit instead of the glass. These are particularly popular with iPhone Pro users whose protruding camera bumps are more exposed.
- Full camera bump protectors: Cover the entire camera module as a single unit — glass, rings, and all. These offer the most comprehensive protection but can add a small amount of thickness. Some users find they affect ultra-wide shots due to edge interference, so check compatibility reviews before purchasing.
Do lens protectors affect photo quality? The short answer is: good ones don’t, cheap ones can. A high-quality tempered glass protector with proper optical clarity ratings won’t noticeably affect your shots. A poorly made one with micro-bubbles or low transmission rates absolutely will. Stick to reputable brands and check user photo comparisons before buying.
Installation tips: Clean the camera lens area thoroughly with the included alcohol wipe before applying. Use the alignment sticker if provided; it makes precise placement dramatically easier. Apply in a low-dust environment, and use the included squeegee to press out any air bubbles from the center outward.
For 2026 iPhone models, our top picks are the Spigen Optik Pro lens protector for iPhone 16 series and the ESR Camera Lens Protector for iPhone 15 Pro, both of which offer excellent optical clarity, strong adhesion, and great impact resistance.
Model-Specific iPhone Camera Lens Repair Notes (2024–2026)
Not all iPhones are created equal when it comes to camera repair. Here’s what you need to know by model.
- iPhone 16 & 16 Pro Max feature Apple’s most advanced camera system to date — a 48MP Fusion camera, a 48MP ultrawide, and on Pro models, a 5x tetraprism telephoto. The camera bump is larger and more protrusive than ever, making lens covers more exposed to drops. Repair parts are widely available, but Pro model lens covers must be sourced carefully to ensure sapphire quality. Apple’s Self Service Repair Program supports iPhone 16 camera lens repairs as of 2026.
- iPhone 15 Pro introduced the titanium frame, which is great for durability overall but changes the repair dynamic. The camera system is tightly integrated with the frame, and third-party repairs have a slightly higher risk of frame-adjacent damage. Seek an Apple IRP for this model if you’re going professional.
- iPhone 14 series is notable for its rear glass back design, which means camera lens cover replacements are manageable, but any repair near the back panel requires care to avoid the overall rear glass structure. Parts are plentiful and affordable in 2026.
- iPhone 12 and 13 models, parts are widely available, affordable, and repair procedures are well-documented on platforms like iFixit. If you’re going to attempt a DIY repair on any iPhone, these older models are the most forgiving. That said, these models are now 3 to 5 years old, weigh repair costs against upgrade value carefully.
Apple’s Self Service Repair portal currently supports camera lens repairs for iPhone 12 through iPhone 16 series, with parts, manuals, and tool rentals available directly through Apple’s website.
Conclusion
Here’s the bottom line: a damaged iPhone camera lens is annoying, but it’s absolutely fixable — and you have more options than ever in 2026 to get it sorted quickly and affordably.
If you’re confident with small repairs, the DIY route can save you real money and get your camera back in shape within an hour. If you’d rather have peace of mind, Apple’s Self Service Repair Program, Genius Bar, and authorized third-party shops all offer solid, reliable solutions. And if you want to avoid all of this stress in the future, grab a lens protector today. Seriously. They’re $15 and could save you $150.
Don’t ignore a cracked lens. Small cracks spread. Moisture gets in. What starts as a cosmetic issue quietly becomes an optical nightmare. Act fast, choose the right repair path for your situation, and protect that glass once it’s fixed.
Related iPhone Repair Guides:
- iPhone Screen Replacement Guide: Learn repair cost, turnaround time, OEM vs aftermarket screens, damage signs, DIY vs professional repairs, & tips.
- iPhone Battery Replacement Guide for All Models in 2026: Learn battery health signs, replacement costs, tips,& professional iPhone battery replacement services.
- iPhone Back Glass Replacement Guide in 2026: Discover DIY methods, repair costs, tools needed, and step-by-step instructions for all iPhone models.