Introduction
Did you know that Americans break roughly 50 million phone screens every single year? That’s a staggering number, and if you’re reading this, chances are you’re one of them. I’ve been there. That sickening moment when your iPhone slips from your hand and lands face down on concrete. The slow, dreadful flip to reveal a spiderweb of cracks across your display. Here’s the thing: Apple charges anywhere from $199 to $379 for an out-of-warranty screen replacement, depending on your model. Ouch! But what if I told you that a high-quality iPhone screen repair kit could restore your display to flawless condition for a fraction of that cost?
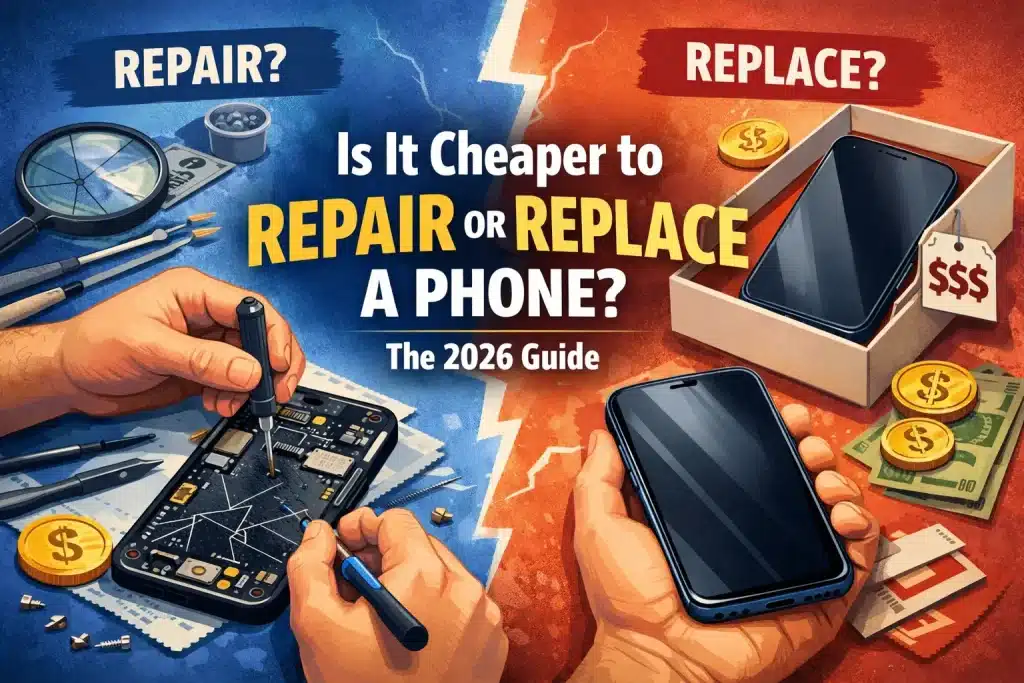
We’re talking $25 to $60 in most cases. That could save you over $300. If you’re wondering whether it makes more sense to fix your phone or buy a new one, read our breakdown on whether it’s cheaper to repair or replace a phone.
In this guide, I’ll walk you through everything you need to know about iPhone screen repair kits, from choosing the right one for your specific model to actually pulling off the repair yourself at home. Whether you’re a complete beginner who’s never held a screwdriver or a seasoned DIY enthusiast, you’ll find actionable, step-by-step advice to get that cracked screen looking brand new. Let’s dive in!
What Is an iPhone Screen Repair Kit and What’s Included?
Before you rush off to buy the first repair kit you see on Amazon, let’s take a step back and understand exactly what you’re getting. An iPhone screen repair kit is a bundled package that includes a replacement display and the specialized tools needed to swap out your broken screen at home. Think of it as a DIY surgery kit for your phone — everything you need in one box.
A standard kit typically includes a replacement LCD or OLED display assembly (which is the screen itself along with the digitizer that registers your touch inputs), a set of pentalobe screwdrivers (those tiny star-shaped screws Apple uses to keep you out), a suction cup for lifting the screen off the frame, plastic spudgers and pry tools for safely disconnecting delicate ribbon cables, tweezers for handling those impossibly small screws, and adhesive strips to seal everything back up when you’re done.
Now, here’s where it gets important. Not all replacement screens are created equal. You’ll encounter three main types:
- OEM (Original Equipment Manufacturer) screens are made by Apple’s own suppliers. These are the gold standard — identical in quality to the screen that came with your phone. They support all features like True Tone, auto-brightness, and haptic touch. However, they’re the most expensive option and can be harder to find from reputable sellers.
- Aftermarket screens are manufactured by third-party companies. Quality varies wildly here. The best aftermarket screens are nearly indistinguishable from OEM in terms of color accuracy and touch responsiveness. The worst ones? You’ll notice washed-out colors, reduced brightness, and sluggish touch response within the first hour of use.
- Refurbished screens are original displays that have been recovered from used iPhones, tested, and reconditioned. They offer a nice middle ground between OEM quality and aftermarket pricing. Just make sure the seller provides clear grading — Grade A refurbished screens should have zero dead pixels and no visible defects.
One crucial distinction to understand is the difference between a full-screen assembly kit and a glass-only kit. A full assembly includes the LCD/OLED display, digitizer, and front glass, all bonded together. This is what I recommend for beginners because it’s a straightforward swap. A glass-only kit requires you to separate the broken glass from the working display underneath, which demands precision tools, a heat plate, and frankly more skill than most people have. For a detailed comparison, see our article on iPhone screen repair vs. glass replacement. Stick with the full assembly unless you know what you’re doing.
How to Choose the Best iPhone Screen Repair Kit for Your Model
Choosing the right kit is arguably the most important step in this entire process. Get it wrong, and you’re stuck with a screen that doesn’t fit, doesn’t work, or looks terrible. Here’s exactly what to look for.
Match the Kit to Your Exact iPhone Model
This sounds obvious, but you’d be surprised how many people order the wrong screen. An iPhone 14 screen will not fit an iPhone 14 Pro. An iPhone 13 mini screen is completely different from an iPhone 13. Every model has a unique display size, connector type, and mounting configuration. Before you buy anything, go to Settings > General > About on your iPhone and note the exact model number. Then double-check that the kit you’re ordering lists your specific model as compatible.
LCD vs. OLED: Know What Your iPhone Uses
This is a big one. Older and budget iPhone models (like the iPhone SE, iPhone 11, and the standard iPhone 14) use LCD displays. These are generally cheaper to replace and widely available. The iPhone Pro models, the iPhone 15 and 16 series (including the standard versions), and newer devices use OLED displays. OLED screens deliver deeper blacks, richer colors, and better contrast ratios, but they cost significantly more to replace. . For specific pricing, check out our breakdown of iPhone 15 and 16 screen repair costs.
If your phone originally came with an OLED screen, I’d strongly recommend replacing it with another OLED panel. Downgrading to an LCD replacement (which some budget kits offer) will result in a noticeably inferior display experience. You’ll see it every time you unlock your phone.
Quality Indicators That Matter
When evaluating kits, pay attention to these quality signals:
- Color accuracy: Does the listing mention color calibration or a specific color gamut? Higher-quality screens are calibrated to match Apple’s original display output.
- Touch sensitivity: Look for screens that explicitly advertise full multi-touch support and 3D Touch or Haptic Touch compatibility (depending on your model).
- Brightness levels: Cheap aftermarket screens often max out at 300–400 nits, while OEM screens push 800+ nits. If you use your phone outdoors frequently, this matters a lot.
- Warranty and returns: Reputable sellers offer at least a 6-month warranty on their replacement screens. If there’s no warranty, walk away.
Price Ranges to Expect
Here’s a rough pricing guide so you know what’s reasonable:
- Budget kits ($15–$30): Basic aftermarket screens. Functional but often lack color accuracy and may not support True Tone.
- Mid-range kits ($30–$60): High-quality aftermarket or refurbished screens with full tool sets. Best value for most people.
- Premium kits ($60–$120+): OEM or premium OLED replacements with comprehensive warranties. Worth it for newer Pro models.
Note: For a deeper dive into the professional repair process, check out our complete iPhone screen repair guide.
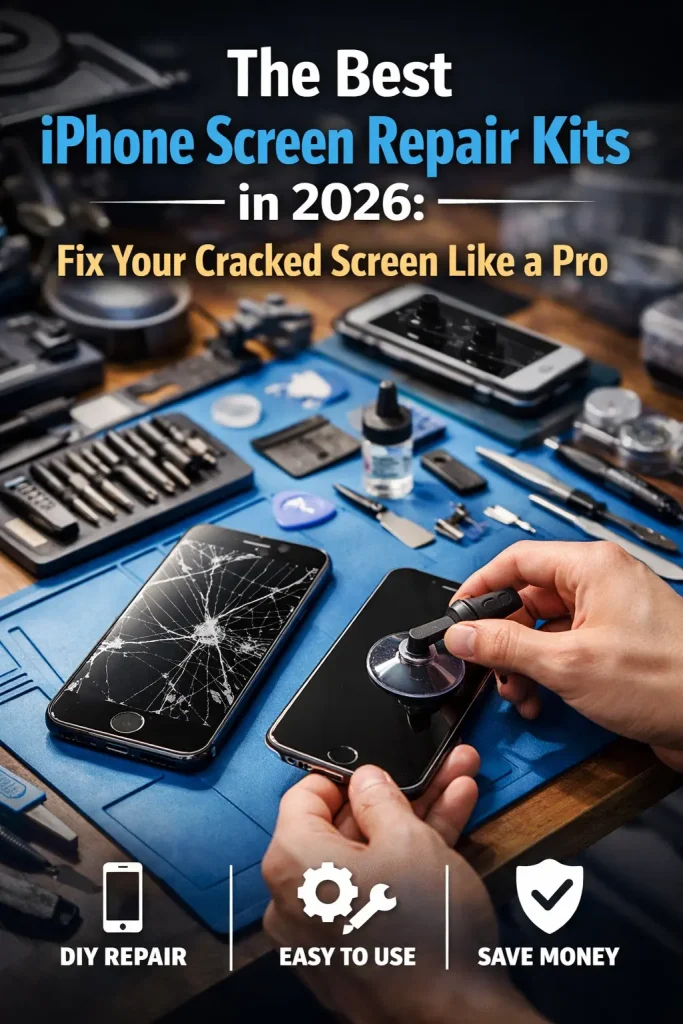
Top 5 iPhone Screen Repair Kits in 2026 (Compared)
I’ve researched dozens of kits and narrowed it down to five standout options across different budgets and iPhone models. Here’s what’s worth your money in 2026.
1. iFixit iPhone Screen Fix Kit
iFixit is basically the gold standard in DIY repair. Their kits include a premium aftermarket display, their signature precision toolkit (which is genuinely excellent), and access to their detailed online repair guides with step-by-step photos. The screen quality is consistently rated among the best aftermarket options available, with strong color accuracy and reliable touch response. It’s pricier than no-name alternatives, but you’re paying for quality and peace of mind. Best for: First-time repairers who want the best instructions and support.
2. Fixerman Premium OLED Display Kit
If you need an OLED replacement for a Pro model, Fixerman delivers excellent bang for the buck. Their screens offer impressive color reproduction that comes remarkably close to OEM quality. The kit includes all necessary tools plus a magnetic project mat for organizing screws — a small touch that makes a big difference during the repair. They also offer a 12-month warranty, which is above average for this price point. Best for: iPhone Pro model owners who want near-OEM OLED quality without the OEM price tag.
3. STREBITO Complete Repair Tool Kit
This one’s a bit different — it’s primarily a professional-grade toolkit with 142 precision tools, including everything you need for iPhone screen repair and beyond. You’ll need to purchase the replacement screen separately, but the tool quality is outstanding. If you plan on doing multiple repairs over time (or fixing other electronics), this is the toolkit to invest in. Best for: DIY enthusiasts who plan to do more than one repair and want professional tools.
4. Yodoit LCD Screen Replacement Kit
Yodoit offers some of the best budget-friendly LCD replacements on the market. Their kits are available for a wide range of models from iPhone 6 through iPhone 14, and they include a complete tool set with clear printed instructions. The LCD quality is solid for the price — don’t expect OEM-level brilliance, but for everyday use, it’s perfectly acceptable. Their customer service is also responsive if you run into issues. Best for: Budget-conscious buyers with older iPhone models using LCD screens.
5. Apple Self Service Repair Kit
Apple launched their Self Service Repair program, and it’s worth considering if warranty preservation is your top priority. You get genuine Apple parts and can rent professional repair tools. The catch? It’s more expensive than aftermarket options, the rental tools are bulky, and the process is more complicated than using a standard repair kit. But you get guaranteed compatibility and your warranty stays intact. Best for: Users with AppleCare+ or those who prioritize using genuine Apple parts.
| Repair Option | Cost | Time | Skill Needed | Warranty Impact |
| DIY Repair Kit | $25 – $60 | 30–60 min | Moderate | May void warranty |
| Apple Store | $199 – $379 | 1–3 hours | None | Warranty preserved |
| Third-Party Shop | $80 – $180 | 1–2 hours | None | May void warranty |
| Apple Self Service | $69 – $269 | 45–90 min | Moderate-High | Preserved |
Step-by-Step Guide: How to Replace Your iPhone Screen at Home
Alright, you’ve got your kit. Let’s do this! I’m going to walk you through the entire process. Take a deep breath, it’s more manageable than you think.
Before You Start: Workspace Preparation
Set yourself up for success. Find a clean, well-lit workspace — a desk or kitchen table works great. Lay down a soft cloth or silicone mat to protect your phone from scratches. If your kit came with a magnetic screw mat, set it up now. If it didn’t, grab a piece of tape and label sections for each step’s screws. Trust me, these screws are tiny, and mixing them up is the fastest way to ruin your repair. Also, have your phone backed up to iCloud or your computer. While a screen replacement shouldn’t affect your data, it’s always smart to have a safety net.
Step 1: Power Down and Remove the Pentalobe Screws
Completely shut down your iPhone. Then use the pentalobe screwdriver from your kit to remove the two small screws on either side of the Lightning or USB-C port at the bottom of the phone. Place these screws on your magnetic mat or tape immediately. They’re less than 4mm long and will vanish into carpet, never to be seen again.
Step 2: Separate the Display from the Frame
Apply the suction cup to the lower portion of the screen. Pull up with steady, firm pressure while using a plastic pry tool to work into the seam between the screen and the frame. You’re breaking through the adhesive that seals the display. Work slowly around the edges. Do not force it. If you feel significant resistance, apply a little heat with a hair dryer to soften the adhesive. For iPhone 12 and newer models, the display opens from the left side like a book. For older models, it lifts from the bottom.
Step 3: Disconnect the Battery
This step is critical — do not skip it! Before touching any other cables, locate the battery connector and carefully disconnect it using a plastic spudger. This prevents short circuits that can permanently damage your phone’s logic board. You’ll see a small metal bracket held in place by screws — remove those screws first, then gently pry the connector up.
Step 4: Disconnect and Remove the Display
Remove the metal plate(s) covering the display cable connectors. These are held by 2–4 tiny Phillips screws (keep them organized!). Gently disconnect each ribbon cable using your spudger — they’re like tiny snap connectors, so pry straight up. Once all cables are disconnected, the display will come free from the body of the phone.
Step 5: Transfer Essential Components
This is the step most people underestimate. Your new screen likely comes as a bare display assembly, which means you’ll need to transfer several components from your old screen to the new one:
- Earpiece speaker: Usually held in by screws and clips. Be careful with the proximity sensor attached to it.
- Front camera: Includes the infrared camera, flood illuminator, and dot projector for Face ID. Handle with extreme care — damage here means no Face ID.
- Home button (iPhone 8 and SE): The home button is paired to your specific phone’s logic board. If you don’t transfer it, Touch ID won’t work.
- Metal shield plates and brackets: Transfer all the small metal plates that cover connectors and screw mounts.
Step 6: Test the New Screen Before Sealing
Before you reassemble everything, connect the new display’s ribbon cables and temporarily reconnect the battery. Power on the phone and test everything: touch responsiveness across the entire screen, display colors and brightness, Face ID or Touch ID, earpiece audio during a call, and front camera functionality. If anything doesn’t work, double-check your cable connections. It’s much easier to fix now than after you’ve sealed everything up.
Step 7: Reassemble and Seal
Once everything checks out, power down the phone again, disconnect the battery, and proceed with final assembly. Reconnect all display cables firmly (you should feel a small click), replace the metal shield plates, reconnect the battery, apply new adhesive strips around the frame, and carefully press the display back into place. Reinstall the two pentalobe screws at the bottom, and you’re done!
Estimated time: 30–45 minutes for experienced repairers; 60–90 minutes for beginners. Don’t rush it.
Common Mistakes to Avoid During iPhone Screen Repair
Even with the best kit and the clearest instructions, things can go wrong. Here are the most common mistakes I see people make — and how to avoid them.
- Forcing the screen open too quickly. Patience is everything. Yanking the screen up aggressively can tear the ribbon cables that connect the display to the logic board. Once those cables are damaged, your new screen won’t work either. Take your time with the suction cup and pry tools, working gradually around the edges.
- Forgetting to disconnect the battery. I cannot stress this enough. Working on live electronics is a recipe for disaster. A short circuit on the logic board can brick your phone entirely, turning a $40 screen repair into a $500+ paperweight.
- Losing or mixing up screws. Your iPhone contains screws of slightly different lengths that look nearly identical to the naked eye. Putting a longer screw in a shorter screw’s hole can puncture the logic board. Use a magnetic screw mat, label each group, and keep them organized by step number.
- Skipping the display test. It takes two minutes to power on the phone and test the new screen before final assembly. Skipping this step could mean having to tear everything apart again if there’s a connection issue or a defective panel.
- Using low-quality replacement screens. The cheapest screen on eBay might seem like a bargain until it arrives with dead pixels, yellowish tinting, and touch response that makes your phone feel five years old. Invest in a mid-range or better kit. Your daily experience depends on it.
- Not transferring the Face ID module carefully. The TrueDepth camera system that powers Face ID is extremely sensitive. If it’s damaged during transfer, Apple is the only one who can fix it — and it’s not cheap. Handle the front camera assembly like it’s made of glass (because parts of it literally are).
- Overheating the adhesive. A hair dryer on low heat is fine for loosening adhesive. A heat gun on full blast can warp the aluminum frame, damage the battery, or melt plastic components. Gentle warmth is all you need — if the adhesive still isn’t giving, apply more heat for a longer duration at low temperature rather than cranking up the intensity.
iPhone Screen Repair Kit vs. Professional Repair: Which Is Right for You?
Let’s be real, DIY repair isn’t for everyone. Here’s an honest breakdown to help you decide which route makes the most sense for your situation.
The Cost Breakdown
The numbers speak loudly. A quality DIY iPhone screen repair kit runs $25–$60 for most models. Walk into an Apple Store, and you’re looking at $199–$379 for the same repair (without AppleCare+). Third-party repair shops typically charge $80–$180, depending on the model and your location, you can explore affordable screen repair options near you if you’d prefer a professional touch. If you have AppleCare+, screen repairs drop to $29–$99 through Apple, which makes professional repair the obvious choice.
The Time Investment
A DIY repair takes 30–90 minutes of active work, but you can do it on your own schedule — even at midnight. An Apple Store visit means scheduling a Genius Bar appointment (often days out), traveling to the store, and waiting while they work on your device. Third-party shops are often faster, with many offering same-day or even hour-long turnaround times.
Warranty Implications
This is the elephant in the room. Using a third-party repair kit will void your Apple warranty and AppleCare+ coverage. Apple can detect non-OEM parts, and once they do, they won’t touch your device for future warranty claims. If your phone is still under warranty or you’re paying for AppleCare+, think carefully before going DIY. Apple’s Self Service Repair program is a middle ground, you’re using genuine parts, so warranty coverage is preserved.
When to Go Professional
Choose professional repair if your phone has Face ID issues alongside the cracked screen, if there’s potential water damage, if the frame is bent or significantly damaged, or if you’re simply not comfortable working with small electronics. There’s no shame in knowing your limits. A botched DIY repair can end up costing more than the professional repair would have in the first place. For a more detailed comparison, read our full guide on DIY vs. professional iPhone screen repair.
How to Maintain Your iPhone Screen After Repair
You’ve done the hard work — now let’s make sure that new screen stays pristine. Here are my top maintenance tips.
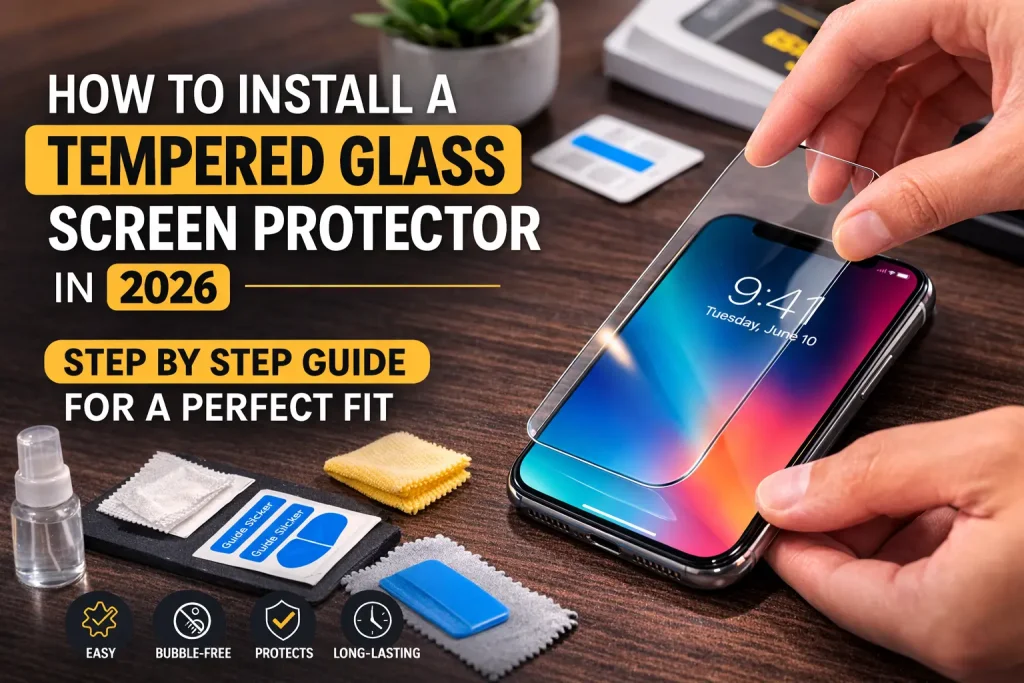
- Install a tempered glass screen protector immediately. Seriously, do this before you even start using the phone again. A quality tempered glass protector costs $8–$15 and can absorb the impact of future drops, potentially saving your new screen from the same fate as the old one. Look for 9H hardness rating and oleophobic coating for the best protection. Need help with the application? Here’s our guide on how to install a tempered glass screen protector.
- Invest in a proper protective case. A good case is your first line of defense against drops. Look for cases with raised edges (sometimes called “lip protection”) that create a buffer between the screen and any surface you set it on. MagSafe-compatible cases are my personal favorite for newer models because they don’t add bulk while providing solid protection.
- Avoid extreme temperatures. The adhesive holding your new screen in place needs about 24–48 hours to fully cure. During that time, avoid exposing your phone to extreme heat or cold, which can weaken the bond. After that curing period, you’re good — but it’s still wise to avoid leaving your phone on a hot dashboard or in a freezing car for extended periods.
- Clean your screen properly. Use a microfiber cloth with a small amount of screen cleaner or distilled water. Avoid household cleaners, alcohol wipes, or paper towels — these can degrade the oleophobic coating on your screen, making it a fingerprint magnet and reducing the smooth glide you’re used to.
- Watch for warning signs. After your repair, keep an eye out for yellowing along the edges (which can indicate adhesive issues), intermittent touch responsiveness problems, or light bleed along the screen borders. If you notice any of these within the first few weeks, contact the kit seller about a warranty replacement before the issue worsens.
Frequently Asked Questions About iPhone Screen Repair Kits
Are iPhone screen repair kits safe to use for beginners?
Yes, with caveats. Modern kits are designed with beginners in mind, and there are countless video tutorials available online. That said, you are working with delicate electronics, so patience and attention to detail are essential. If you’re methodical and follow instructions carefully, you can absolutely handle it. If you tend to get frustrated and force things, you might want professional help.
Will I lose my data when replacing my iPhone screen?
No. Replacing the screen does not affect your phone’s storage or data in any way. Your photos, apps, messages — everything stays exactly where it is. However, I always recommend backing up beforehand just as a safety precaution. If something goes wrong during the repair and the phone won’t turn on, you’ll be glad you have that backup.
Do aftermarket screens support True Tone and auto-brightness?
It depends. True Tone is calibrated to each specific phone at the factory level. Most aftermarket screens will not support True Tone unless you transfer the original screen’s True Tone data using a specialized programmer tool (which some advanced kits include). Auto-brightness typically works with aftermarket screens, but it may require the ambient light sensor to be properly transferred from your old display.
How long does a DIY screen replacement typically last?
A quality replacement screen should last just as long as your original, years of daily use without degradation. The key variable is the quality of the screen you purchase. OEM and high-quality aftermarket screens can easily last the remaining lifespan of your phone. Budget screens may show signs of wear, reduced brightness, or touch issues after 12–18 months.
Can I repair an iPhone screen with Face ID without losing functionality?
Yes, but you must carefully transfer the TrueDepth camera system from your old screen to the new one. Face ID is paired to your phone’s specific hardware, so if the module is damaged during transfer, Face ID will stop working permanently. Take extra care with this step, and don’t rush it. Some premium kits come with the earpiece and sensors pre-installed, which reduces this risk significantly.
Where is the best place to buy a reliable iPhone screen repair kit?
iFixit.com is my top recommendation for reliability and support. Amazon is another solid option, but stick to sellers with high ratings and verified reviews — read the 1-star and 3-star reviews to spot recurring quality issues. Avoid suspiciously cheap listings on marketplace sites. Apple’s Self Service Repair store is the official option if you want genuine Apple parts.
Conclusion: Take Control of Your iPhone Screen Repair
Fixing a cracked iPhone screen doesn’t have to mean an expensive trip to the Apple Store or a week without your phone. With the right iPhone screen repair kit, a little patience, and the step-by-step guidance in this article, you can handle the repair yourself, right at your kitchen table, on your own schedule, for a fraction of the professional cost.
Here are the key takeaways to remember: always match the kit to your exact iPhone model, don’t cheap out on screen quality (mid-range or better is the sweet spot), disconnect the battery before doing anything else, organize your screws meticulously, and test the screen before sealing everything back up. Rushing is the number one cause of DIY repair mishaps. Take your time, and you’ll be rewarded with a like-new display.
That said, know your limits. If you’re dealing with Face ID problems, water damage, or a bent frame, professional repair is the smarter call. And if your phone is still under AppleCare+, take advantage of that low-cost screen replacement; that’s what you’re paying for.
Ready to get started? Pick one of our recommended kits above, gather your workspace supplies, and give your iPhone the screen it deserves. Your wallet, and your eyes, will thank you!