Here’s a stat that might sting: over 50 million Phone screens are cracked or damaged every year in the U.S. alone. If you’re reading this, you’re probably staring at one right now. Don’t panic! Whether you’ve got a spiderweb crack spreading across your iPhone 15 Pro or a completely shattered display on an older model, you have real options, and I’m going to walk you through all of them in this detailed iPhone screen repair guide.
I’ve personally navigated both the DIY rabbit hole and the Apple Store waiting room, and trust me, knowing the difference between a $15 repair kit and a $429 professional service call can save you serious money (and a whole lot of frustration). As of 2026, the iPhone repair landscape has changed significantly, with Apple’s Self Repair Program, new parts pairing technology, and more third-party competition than ever before.
In this guide, we’ll cover everything from assessing your damage and comparing repair costs by model to step-by-step DIY instructions and how to protect your warranty. Let’s get that screen fixed!
1. How Bad Is the Damage? Assessing Your iPhone Screen Before Repairing
Before you spend a single dollar, it’s worth taking two minutes to truly assess the damage. Not all broken screens are created equal, and the type of damage you have will determine your best path forward.
Understanding the Layers of Your iPhone Screen
Modern iPhones have a multi-layered display assembly. Here’s a quick breakdown of what might be broken:
- Outer Glass: The outer glass (the layer your fingers touch) is the most commonly cracked component
- Display Panel: The OLED or LCD panel beneath it is responsible for your image quality and colors
- Digitizer: The digitizer is the invisible layer that reads your touch inputs
- Backlight: The backlight (LCD models only) provides the light source for the display
A crack in the outer glass alone is the least serious — your phone may still work perfectly fine, just with a cosmetic flaw. But if the display panel is damaged, you’ll notice things like black spots, lines through the screen, or a completely dark display that won’t turn on.
Quick Self-Diagnosis Checklist
Run through these checks to understand what you’re dealing with:
- Touch responsiveness: Can you unlock your phone and navigate normally? If touch is dead or erratic, the digitizer may be damaged — or it could be a software glitch. Check out our dedicated guide on iPhone touch screen not working to rule out software causes before committing to a repair.
- Display quality: Do you see any discoloration, dark blotches, or lines? That points to OLED/LCD damage.
- Backlight: Hold the screen at an angle in a dark room. If you can faintly see the display but no backlight, you may have a backlight issue.
- Physical integrity: Is the glass sharp or lifting? That’s a safety hazard and needs immediate attention.
| ⚠️ Warning: If your screen has deep cracks exposing internal components, stop using the phone immediately. Sharp glass edges can cause cuts, and internal exposure risks further water and dust damage. |
When Is Damage Too Severe for DIY?
Not every broken screen is a DIY project. Consider going straight to a professional if:
- The display shows dead pixels, color bleeding, or complete blackout
- Touch functionality is completely non-responsive
- The phone was dropped in water before or after the screen cracked
- You notice any swelling or deformation of the device body
2. iPhone Screen Repair Costs in 2026: What to Expect by Model
Let’s talk money. This is often the deciding factor between DIY and professional repair, so I want to be completely upfront with you about what things actually cost.
Apple’s Official Out-of-Warranty Repair Prices
Here’s a cost comparison table for the most popular iPhone models in 2026:
| iPhone Model | Apple (No AppleCare+) | AppleCare+ Fee | 3rd-Party Avg. | DIY Kit Cost |
| iPhone 16 Pro Max | $429 | $29 | $180–$260 | $60–$120 |
| iPhone 15 Pro | $379 | $29 | $150–$230 | $50–$110 |
| iPhone 14 Plus | $329 | $29 | $120–$200 | $45–$90 |
| iPhone 13 | $279 | $29 | $100–$170 | $35–$80 |
| iPhone 12 | $229 | $29 | $80–$140 | $25–$60 |
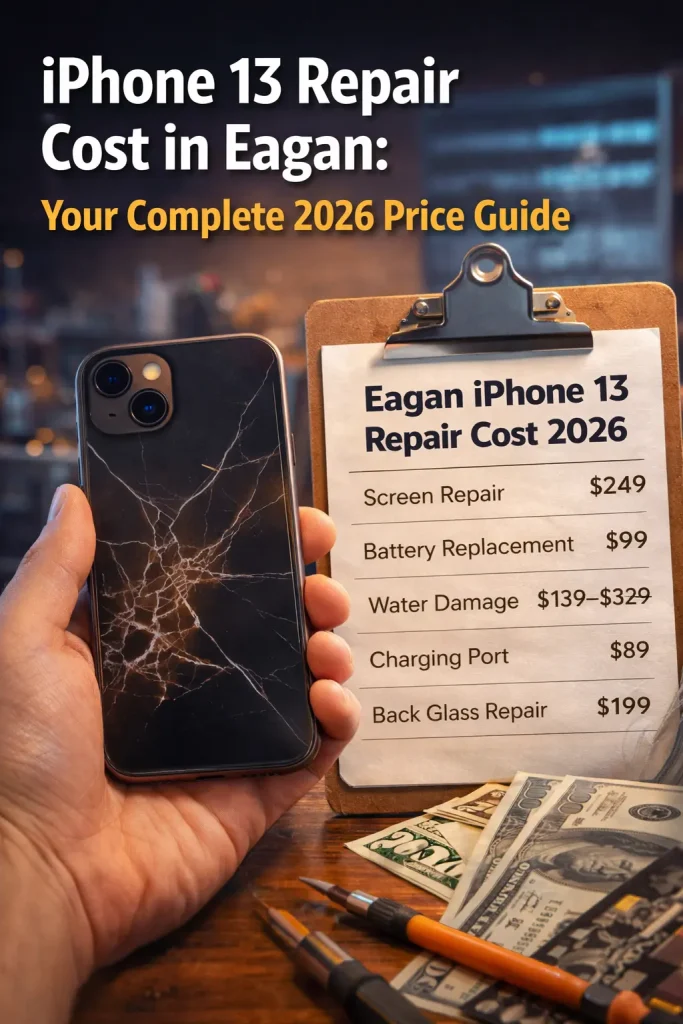
Important note: Apple’s pricing reflects use of genuine Apple parts with a 90-day warranty on the repair. Third-party pricing varies widely based on part quality (OEM vs. aftermarket) and shop reputation. If you’re in Minnesota, check out our local pricing breakdown for iPhone screen replacement cost in Eagan to see what to expect from nearby shops.
How AppleCare+ Changes Everything
If you have AppleCare+, your screen repair cost drops dramatically, typically to just $29 per incident for screen damage, regardless of your model. That’s an incredible deal for iPhone Pro Max owners staring down a $429 repair bill. If you don’t have AppleCare+ yet, check if you’re still within the eligible purchase window (Apple allows you to add it within 60 days of purchase).
Hidden Costs to Watch Out For
Whether you go DIY or professional, watch out for these sneaky extras:
- Tool kits — a quality DIY toolkit runs $20–$50 if you don’t already have one
- Adhesive — replacement waterproofing adhesive strips are often sold separately (~$5–$10)
- Data backup — if a repair goes wrong and you lose data, recovery services can cost hundreds
- Diagnostic fees — some third-party shops charge $20–$50 just to assess your device
- Shipping — mail-in services may add $10–$25 round-trip
| 💡 Pro Tip: Always back up your iPhone to iCloud or your computer before any repair — DIY or professional. It takes five minutes and could save you irreplaceable photos and data. |
3. Professional iPhone Screen Repair: Apple Store, Authorized Providers & Third-Party Shops
Not a hands-on person? No shame in that, professional repair is often the smartest choice, especially for newer, more complex models. Let’s break down your options.
Option A: The Apple Genius Bar
Going straight to Apple is the gold standard of iPhone repair. You get genuine Apple parts, certified technicians, and a 90-day warranty on the repair. Here’s how to make it as painless as possible:
- Book a Genius Bar appointment at apple.com/retail or the Apple Support app, walk-ins are rare and often turned away
- Bring your Apple ID credentials and proof of purchase if under warranty
- Same-day service is common for screen replacements at most locations
- Your existing AppleCare+ coverage continues after an Apple repair
Option B: Apple Authorized Service Providers (AASPs)
Apple Authorized Service Providers are third-party businesses that have been certified by Apple to perform genuine repairs. They use the same parts and follow the same repair standards as Apple Stores — often with shorter wait times and sometimes lower prices. You can find your nearest AASP at apple.com/support.
Option C: Independent Third-Party Repair Shops
This is where you can save the most money on professional repair, but it comes with caveats. Quality varies enormously between shops. If you want to skip the research and go straight to vetted options, check out our guide to finding affordable screen repair near you. It covers what to look for and how to avoid low-quality shops
How to vet a third-party repair shop:
- Look for shops that use genuine OEM parts or Apple-equivalent quality screens
- Check Google and Yelp reviews specifically mentioning the type of repair you need
- Ask if the shop is part of Apple’s Independent Repair Provider (IRP) program — IRPs get access to genuine Apple parts and diagnostics
- Get a written quote before leaving your phone
- Confirm the repair warranty (reputable shops typically offer 90 days to 1 year)
| ⚠️ Heads Up: In 2026, Apple’s ‘parts pairing’ technology means some components (like Face ID) can only be fully recalibrated using Apple’s diagnostic software. A third-party repair may result in a ‘Genuine Apple Part’ warning in your Settings, functionally harmless, but worth knowing. |
Option D: Apple’s Self-Repair Program
Apple’s Self-Repair Program allows individuals to rent professional repair tools and purchase genuine Apple parts directly. It’s an interesting middle ground between full DIY and professional service, but be warned, the tool rental process is cumbersome, and it’s primarily designed for experienced repairers. For most people, a standard repair shop is a better bet.
Turnaround Times at a Glance
Wondering how long you’ll be without your phone? Here’s a general breakdown, though times vary by location and demand. For a detailed breakdown by repair type and provider, see our article on how long iPhone screen replacement actually takes.
- Apple Genius Bar: Same day (1–3 hours) with appointment
- Apple Authorized Service Provider: Same day to 2–3 business days
- Independent shop: Often same day or next day
- Mail-in service: 3–7 business days total
4. DIY iPhone Screen Repair: Step-by-Step Guide for Beginners
I’ll be honest with you: DIY iPhone screen repair is genuinely doable for most people — but it requires patience, the right tools, and a healthy respect for tiny components. If you’ve ever assembled furniture from scratch or done any basic electronics work, you’re probably in good shape. Still not sure which route is right for you? We break it down in detail in our DIY vs. professional iPhone repair comparison.
Is DIY Right for You? Honest Self-Assessment
Answer these honestly before buying a repair kit:
- Are you comfortable working with tiny screws and delicate cables?
- Do you have a steady hand and good lighting in your workspace?
- Is your phone out of AppleCare+ coverage? (If not, use AppleCare+ first!)
- Are you repairing an older model (iPhone 12 or earlier) where repair is simpler?
If you answered yes to most of these, you’re ready. Let’s go!
Tools You’ll Need
A quality repair kit is non-negotiable. Don’t try to improvise with household tools — you’ll strip screws and damage components. You’ll need:
- Pentalobe P2 screwdriver (for the bottom screws)
- Phillips #000 screwdriver (for internal screws)
- Suction cup with pull handle
- Plastic spudger and pry tools
- Tweezers (non-magnetic)
- iOpener heating tool or a heat gun (set to low)
- Anti-static mat and wrist strap (optional but recommended)
Best place to buy: iFixit’s repair kits are the gold standard for DIY iPhone repair. They include all tools, quality replacement screens, and written + video guides specific to your model. Amazon has cheaper options, but part quality can be hit-or-miss. For a deeper dive into choosing the right parts and kit for your model, see our complete iPhone screen replacement guide.
Step-by-Step Screen Replacement (General Process)
Note: The exact steps vary by model. Always follow a model-specific guide from iFixit or a trusted YouTube channel. The general process is:
- Power down your iPhone completely before starting.
- Remove the two pentalobe screws at the bottom of the device.
- Apply heat around the screen edges (60–70 seconds) to soften the adhesive seal.
- Use the suction cup near the bottom of the display to create a gap, then work a thin pick around the edges to cut the adhesive. Take your time!
- Swing the display open like a book — hinge it from the bottom, never force it upward.
- Disconnect the battery connector first, then the display connectors.
- Transfer the front camera, Face ID module, earpiece speaker, and any brackets from your old screen to the new one.
- Connect the new display, plug in the battery, and power on to test BEFORE sealing.
- Apply new adhesive strips and press the display firmly into place. Replace the pentalobe screws.
The Face ID Warning — Don’t Skip This
Critical: The Face ID dot projector module is paired to your iPhone’s logic board at the factory. If you damage or replace it during a screen swap, Face ID will stop working permanently — and it cannot be restored without Apple’s proprietary tools. Always transfer this module carefully from your original screen to the new one, and never power on the device without it connected.
Common DIY Mistakes to Avoid
- Forcing the screen open before the adhesive is sufficiently heated — this cracks the display further
- Forgetting to disconnect the battery before touching internal components
- Stripping pentalobe screws by using the wrong screwdriver size
- Not testing the screen before sealing everything back up
- Buying a cheap aftermarket screen with poor brightness, color accuracy, or no True Tone support
5. Model-Specific Repair Considerations: iPhone 13 Through iPhone 16
Each iPhone generation brings new engineering challenges for repairers. Here’s what you need to know about the models most people are working with in 2026.
iPhone 16 Series (2024–2025)
Apple’s iPhone 16 lineup introduced a new internal architecture with updated repairability in mind — ironically, Apple made the back glass easier to remove without disassembling the entire phone. However, the titanium frame on Pro models requires specific tools to work around without scratching. OLED screen replacements are complex and expensive, and True Tone calibration data is stored in the display module, meaning aftermarket screens won’t have True Tone unless recalibrated.
iPhone 15 Series
The iPhone 15 Pro and Pro Max feature Apple’s first titanium frame, which is more resistant to bending but harder to pry open without specialist tools. The Dynamic Island display cutout means more complex cable routing. Budget for a higher-quality replacement screen if you go DIY; cheap panels often don’t reproduce the ProMotion 120Hz display correctly.
iPhone 14 Series
Apple made a significant repairability improvement with the iPhone 14; the back glass can be removed without dismantling the entire phone, which is a first for iPhones. Screen replacement is relatively standard, but Face ID module transfer remains delicate.
iPhone 13 Series
iPhone 13 was the first model to require software recalibration when swapping screen components. Specifically, swapping the True Tone data from the old screen to the new one requires Apple’s System Configuration software. A third-party repair using a new screen will lose True Tone functionality unless the shop has the right tools. For DIY repairs, stick to the same-model screen swap to preserve as much functionality as possible.
iPhone 12 and Earlier
Good news: older models are generally the most DIY-friendly. Less stringent parts pairing, simpler internal layouts, and a massive library of iFixit guides make these models approachable for first-time repairers. The lower cost of replacement screens also means you can afford a quality part without breaking the bank.
6. Insurance, Warranty & AppleCare+: Making the Smart Financial Decision
Before you swipe your credit card for any repair, take five minutes to check if you’re already covered. You might be pleasantly surprised.
AppleCare+ — The Clear Winner If You Have It
AppleCare+ covers up to two incidents of accidental damage per 12-month period, with a $29 service fee for screen damage. If you have it, use it. Don’t try to save money by going DIY and potentially voiding your coverage on a phone that’s still under plan. To check if your device is covered, go to Settings > General > VPN & Device Management, or visit apple.com/support.
Does Homeowner’s or Renter’s Insurance Cover Your iPhone?
Surprisingly, sometimes yes! Many homeowners’ and renters’ insurance policies include personal property coverage that extends to electronics, including smartphones. Coverage varies wildly by policy, but it’s worth a five-minute call to your insurance agent. Watch out for high deductibles ($500+) that make small claims not worth it.
Carrier Insurance Plans Compared
All three major U.S. carriers offer device protection plans:
- AT&T Protect Advantage: $15–$17/month, screen repair for $29, comprehensive damage protection
- Verizon Mobile Protect: $17/month, screen repair for $29, same-day delivery options
- T-Mobile Protection 360: $18/month, includes McAfee security suite, $29 screen repair
In most cases, AppleCare+ is the better value for iPhone owners — carrier plans often include coverage you don’t need and have higher monthly fees.
When Does It Make More Sense to Upgrade?
Here’s the honest math: if your iPhone is 4+ years old and out of warranty, a $200–$400 screen repair on a device worth $100–$200 trade-in value rarely makes financial sense. In 2026, certified refurbished iPhones are widely available, and trade-in programs from Apple, carriers, and retailers can get you into a newer model for surprisingly little out-of-pocket cost. Run the numbers before committing to an expensive repair on an aging device.
7. Preventing Future iPhone Screen Damage: Cases, Screen Protectors & Best Practices
The best screen repair is the one you never need. After spending time and money fixing your current phone, let’s make sure this doesn’t happen again.
Best Screen Protectors in 2026
A good screen protector is your first line of defense. In 2026, tempered glass protectors have become the clear standard — they absorb impact far better than film options:
- Tempered glass (recommended): 9H hardness rating provides real crack resistance. Look for brands like Belkin, Zagg, and Spigen.
- Privacy glass: Adds a privacy filter that blocks side-viewing angles — great for commuters.
- Film protectors: More flexible and cheaper, but offer minimal drop protection. Best for scratch prevention only.
| 💡 Pro Tip: Many Apple Stores offer free or discounted screen protector installation with purchase, ensuring perfect alignment with your model’s camera cutouts and speaker grilles. |
Best iPhone Cases for Drop Protection (2026)
MagSafe compatibility is now table stakes for iPhone cases. The best drop protection cases combine shock-absorbing TPU corners with a rigid back:
- OtterBox Defender Series: Military-grade drop protection, rugged design, available in MagSafe
- Casetify Ultra Impact: Stylish with serious 8.2ft drop protection
- Apple Clear Case with MagSafe: Minimal protection but genuine Apple quality
- Spigen Tough Armor: Excellent value, kickstand built in, great drop ratings
Understanding Apple’s Ceramic Shield
Apple’s Ceramic Shield — introduced with iPhone 12 and continuing through the iPhone 16 lineup — incorporates ceramic crystals into the front glass, making it four times more resistant to drops than standard glass. It’s genuinely impressive protection, but it doesn’t mean your screen is unbreakable. Pavement and concrete are still winning battles against Ceramic Shield regularly.
Simple Daily Habits That Make a Big Difference
- Use a case that covers the corners — that’s where 90% of screen-shattering impacts occur
- Never leave your phone perched on armrests, tables, or car seats where it can easily slide off
- Keep your phone separate from keys and coins in your pocket — they’re constant scratch risks
- Consider a PopSocket or MagSafe grip attachment — better grip = fewer drops
- In cold weather, keep your phone in an inner pocket — cold makes glass more brittle and batteries drain faster
Final Thoughts: Making the Right Call for Your iPhone
Dealing with a cracked iPhone screen is never a pleasant experience — but armed with the right information, you can make a smart, confident decision. Let’s quickly recap the key takeaways:
- Assess the damage first. Minor cosmetic cracks don’t always require urgent repair; display damage does.
- Check your coverage before paying out-of-pocket. AppleCare+, carrier insurance, or even homeowner’s insurance might cover you.
- For newer models (iPhone 14+), professional repair is usually the smarter choice due to parts pairing complexity.
- DIY is a viable option for older models and those comfortable with precision work — just buy quality parts.
- Prevent future damage with a quality tempered glass protector and a drop-rated case.
My personal recommendation? If you have AppleCare+, use it without hesitation. If you’re out of warranty on an iPhone 13 or newer, get quotes from an Apple Authorized Service Provider and a reputable independent shop like Helpertech before deciding. And if you’re repairing an iPhone 12 or older? A quality DIY kit from iFixit will serve you well.